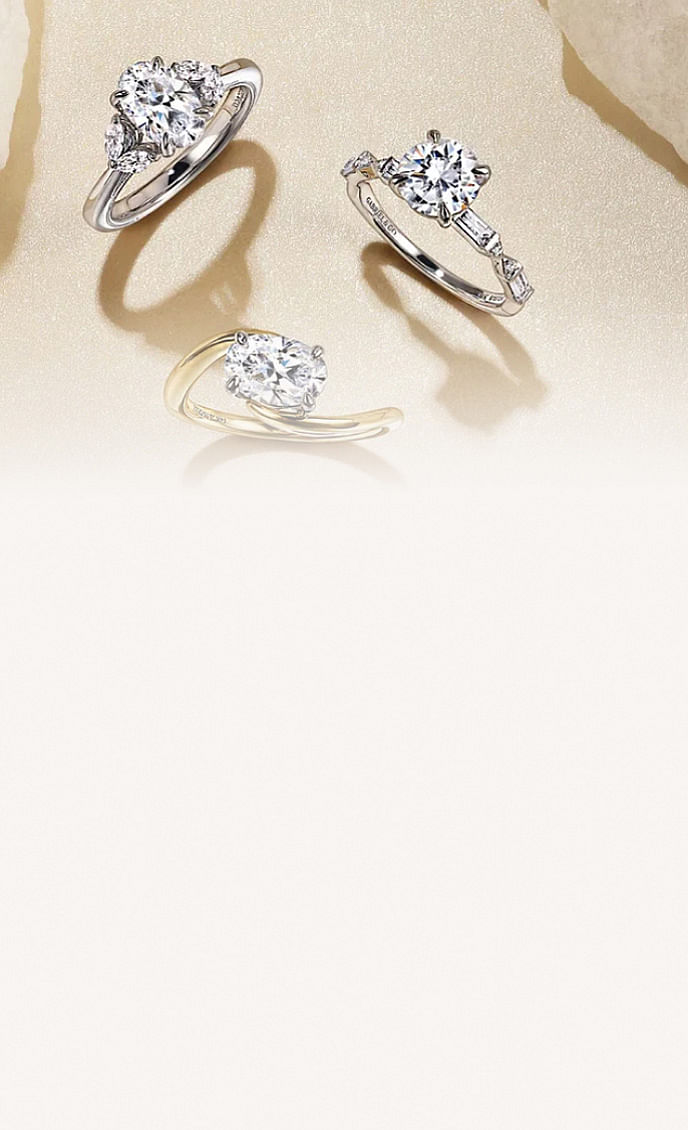
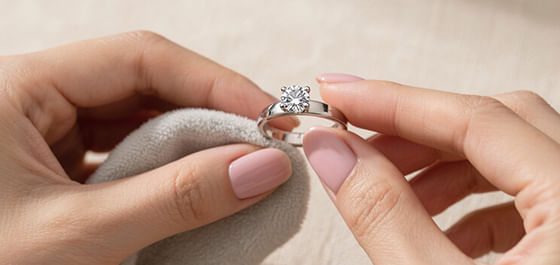
Learning how to put on a bracelet by yourself can save time and frustration, especially with delicate chains and small clasps. These four simple methods make the process easier, with tips on which bracelets work best for each.
1. Using duct tape

A tiny piece of duct tape can act like a helper hand. Stick one end of your bracelet to your wrist, and the other end is free to fasten the clasp. It keeps the bracelet steady and makes the process much smoother.
Works best with lobster clasps, spring rings, and lightweight chains. Very thick or stiff chains might not hold as well.
Tips to try:
- Use a small piece of tape so it does not stick too much to your skin.
- Angle the tape slightly to keep your wrist comfortable.
- This method works great for delicate chains that otherwise flop around while you try to clasp them.
2. Using a paper clip or bobby pin

A paper clip or bobby pin can act as a temporary hook to hold one end of the bracelet. This is perfect when you need a little extra control with your free hand.
Paper clip method:
- Bend the paper clip into a small hook.
- Hook one end of the bracelet and hold it against your palm.
- Bring the other end around and fasten the clasp.
- Remove the paper clip.
Bobby pin method:
- Clip the bobby pin to one end of the bracelet.
- Hold it firmly while your free hand secures the clasp.
- Remove the bobby pin once the bracelet is on.
Works best with spring rings, lobster clasps, and toggle bracelets. Avoid chunky clasps that could slip off the clip or pin.
Why it works: It feels like magic once you get the hang of it. Your bracelet stays in place, and you can focus on clasping without juggling.
3. One-handed method with table support

Resting your wrist on a flat surface gives you stability while fastening the clasp with one hand. This method uses the table to do half the work.
Works best with lobster clasps, magnetic clasps, or flexible chain bracelets. Stiff bangles are harder to manage this way.
Tips to try:
- Position your wrist at the edge of the table so the bracelet is easy to reach.
- Keep your palm relaxed to avoid tension while fastening.
- This method is great for everyday use when you do not have any tools at hand.
Why it works: You will be surprised how much easier it feels when the bracelet is supported. You can clasp it smoothly without it slipping around.
4. Using a bracelet fastener
A bracelet fastener is a small tool designed to hold one end of the bracelet steady. Your free hand is completely free to secure the clasp.
Works best with all types of clasps including lobster, spring ring, toggle, magnetic, and multi-strand bracelets.
Tips to try:
- Adjust the fastener to hold the bracelet close or slightly away from your wrist for precise control.
- Layer multiple bracelets without stress by fastening one at a time.
- This method is simple and saves time while keeping delicate chains safe.
Why it works: A small tool can make a surprisingly big difference. It makes the process effortless and keeps bracelets safe from bending or scratching.
The clasps we use at Gabriel & Co
At Gabriel & Co., we choose bracelet clasps that are both secure and easy to use. Each type is selected to complement the style of the bracelet while making it simple for you to put on and take off by yourself.
- Lobster clasp: Reliable and versatile, perfect for everyday wear.
- Spring ring clasp: Classic and secure, ideal for delicate chains.
- Toggle clasp: Stylish and easy to fasten, especially for bracelets that layer well.
- Box clasp: Extra secure and elegant, often used for heavier or more structured designs.
These clasps are chosen to balance security, style, and ease of use. If you want to learn about all bracelet clasps and which ones suit different styles, check out our guide to bracelet clasps. For tips on getting the perfect fit, visit our how to figure out your bracelet size blog.